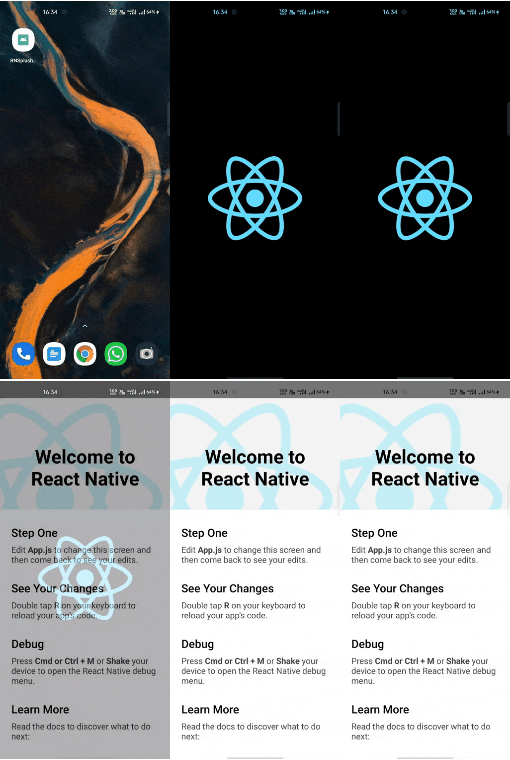
In this tutorial I will show how to add splash screen in a react native app, for android specifically. Last tested with react native v0.65.
Splash Screen
In simplest words, splash screen is like a starting screen of your mobile app that shows up just before the first screen of your app shows up.

This is a common thing in apps, be it native apps in android or ios and hybrid apps using React Native, Cordova etc. It acts as a dummy screen to show your user while it takes time to startup. You can choose to add a nice animation for it.
In this tutorial I will show how to add splash screen in a react native app, for android specifically.
Setting splash screen on Android
First we need to setup splash screen on native android side. Splash screen on Android side leverages setting a theme with splash image. Theme is loaded before the MainActivity in android.
- First, get a splash screen image for your app and copy it in the following location
"android/app/src/main/res/drawable/splash.png". Create “drawable” folder if it doesn’t exist. -
create a color for the background in “
android/app/src/main/res/values/colors.xml"file with following code:<?xml version="1.0" encoding="utf-8"?> <resources> <color name="primary">#000</color> </resources> -
Create a background_splash.xml file in drawable folder with the following code:
<?xml version="1.0" encoding="utf-8"?> <layer-list xmlns:android="http://schemas.android.com/apk/res/android"> <item android:drawable="@color/primary"/> <item android:layout_width="match_parent" android:layout_height="match_parent" android:width="200dp" android:height="200dp" android:drawable="@drawable/splash" android:gravity="center" /> <!-- use this if ur splash image is already of right size android:layout_width="match_parent" android:layout_height="match_parent" --> </layer-list> -
Create a new “SplashTheme” style in “
android/app/src/main/res/values/styles.xml":.... <style name="SplashTheme" parent="Theme.AppCompat.Light.NoActionBar"> <item name="android:background">@drawable/background_splash</item> <item name="android:statusBarColor">@color/primary</item> <item name="android:textColor">#000</item> </style> .... -
Create a “SplashActivity.java” at
android/app/src/main/java/com/rnsplashscreendemo/SplashActivity.javawith following code:package com.rnsplashscreendemo; import android.content.Intent; import android.os.Bundle; import androidx.appcompat.app.AppCompatActivity; public class SplashActivity extends AppCompatActivity { @Override protected void onCreate(Bundle savedInstanceState) { super.onCreate(savedInstanceState); Intent intent = new Intent(this, MainActivity.class); startActivity(intent); finish(); } } -
Add the above created SplashActivity with SplashTheme in the AndroidManifest.xml file. The final file looks like below. Carefully notice the changes in MainActivity activity.
<manifest xmlns:android="http://schemas.android.com/apk/res/android" package="com.samrintech.quotedelight"> <uses-permission android:name="android.permission.INTERNET" /> <application android:name=".MainApplication" android:label="@string/app_name" android:icon="@mipmap/ic_launcher" android:roundIcon="@mipmap/ic_launcher_round" android:allowBackup="false" android:theme="@style/AppTheme"> <activity android:name=".SplashActivity" android:theme="@style/SplashTheme" android:label="@string/app_name"> <intent-filter> <action android:name="android.intent.action.MAIN" /> <category android:name="android.intent.category.LAUNCHER" /> </intent-filter> </activity> <activity android:name=".MainActivity" android:label="@string/app_name" android:configChanges="keyboard|keyboardHidden|orientation|screenSize|uiMode" android:launchMode="singleTask" android:windowSoftInputMode="adjustResize" android:exported="true"> </activity> </application> </manifest> - Thats it! run the app and check the splash screen.

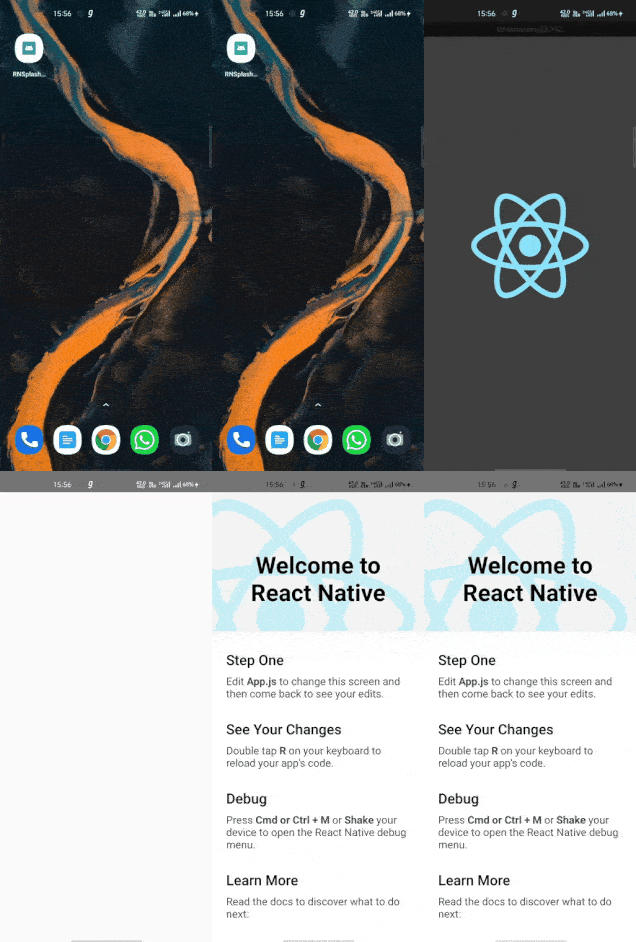
See that white flash between your splash screen and home page?
Handling splash screen white flash for react native apps
Note: The flash can be grey in color if dark mode is enabled in the phone
That white flash screen between splash screen and home screen is because of javascript loading.
To fix that we use “react-native-splash-screen” package.
Follow these steps:
- add the package:
yarn add react-native-splash-screen -
Modify MainActivity.java
package com.rnsplashscreendemo; // change this as per your package import com.facebook.react.ReactActivity; import org.devio.rn.splashscreen.SplashScreen; // add this import android.os.Bundle; // add this public class MainActivity extends ReactActivity { /** * Returns the name of the main component registered from JavaScript. This is used to schedule * rendering of the component. */ @Override protected String getMainComponentName() { return "RNSplashScreenDemo"; } // add this function @Override protected void onCreate(Bundle savedInstanceState) { SplashScreen.show(this); super.onCreate(savedInstanceState); } } -
Don’t forget to hide the SplashScreen when react native app loads! Modify your App.js file like this:
import React, {useEffect} from 'react'; import SplashScreen from 'react-native-splash-screen'; const App: () => Node = () => { useEffect(() => { SplashScreen.hide(); }); .... } -
Next we need to setup the splash screen for react-native side. Create “launch_screen.xml” (exact name) file in
res/layout/folder with following content:<?xml version="1.0" encoding="utf-8"?> <LinearLayout xmlns:android="http://schemas.android.com/apk/res/android" android:layout_width="match_parent" android:layout_height="match_parent" android:background="@drawable/background_splash" android:orientation="vertical"> </LinearLayout> - Thats it! This time truly!

Troubleshooting common issues
- Careful with the java package name and file name while using this tutorial. Don’t blindly copy-paste the code!
-
jest tests failing with “Cannot use import statement outside a module” or “Cannot read property ‘hide’ of undefined”
-
as “react-native-splash-screen” is a native plugin, its not available during jest test run. You need to mock the library in your test file.
jest.mock("react-native-splash-screen", () => ({
  hide: jest.fn(),
  show: jest.fn(),
}));
Reference: https://github.com/crazycodeboy/react-native-splash-screen/issues/166#issuecomment-362774112
-
Code for this tutorial is available at RNSplashScreenDemo
References:
- Implementing the Perfect Splash Screen in Android
- How to Add a Splash Screen to a React Native App (iOS and Android)